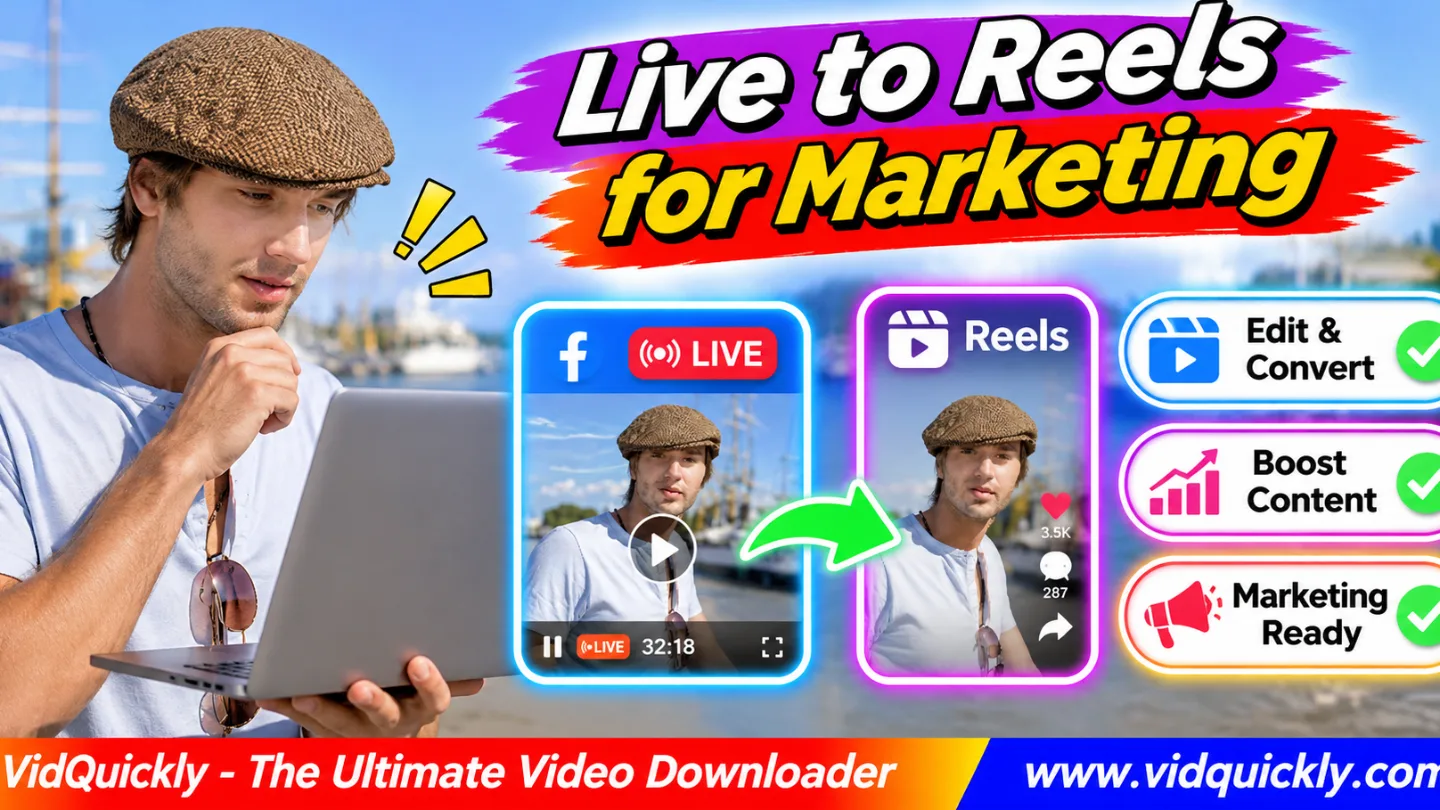
To repurpose Facebook Live videos into Reels, save your original livestream recording, select useful highlights, edit them into short vertical clips, and publish each clip with captions and a clear call to action. One livestream can provide several Reels for your content marketing plan.
You do not need to record everything again. A product demonstration, customer question, or expert explanation can become a short video that reaches new viewers.
The key is to make every Reel useful on its own. This guide covers choosing highlights, writing hooks, editing 9:16 videos, adding subtitles, planning posts, and measuring marketing results.
Key Takeaways:
- Save your original Facebook Live recording before editing.
- Choose highlights that answer one question or solve one problem.
- Start every Reel with a clear hook.
- Use a vertical 9:16 layout for mobile viewing.
- Add accurate captions and readable on-screen text.
- Use music only when you have the necessary rights.
- Create several different Reels from one livestream.
- Track watch time, engagement, clicks, and business results.
Why Repurpose Facebook Live Videos Into Reels?
Repurposing Facebook Live videos into Reels helps businesses create more short-form content without recording new videos every day. A long livestream often contains useful answers, demonstrations, and stories that can work as separate clips.
Facebook Live and Reels serve different content needs.
A livestream supports longer conversations, product demonstrations, and real-time questions. A Reel delivers one focused message in a shorter format.
For example, a 45-minute product livestream might include:
- A product demonstration.
- Three customer questions.
- A comparison between two products.
- A common buying mistake.
- A short customer success story.
Each topic could become its own Reel.
This approach can reduce production time and help more people discover your business.
However, simply cutting a long video into random pieces is not enough. Every clip needs a clear message.
Which Facebook Live recordings work best?
Choose recordings with useful information, clear speech, and moments that make sense without the full livestream.
Good sources include:
- Product launches and demonstrations.
- Educational workshops.
- Live question-and-answer sessions.
- Behind-the-scenes business videos.
- Interviews with permission from participants.
- Tutorials and expert discussions.
Avoid clips that require several minutes of missing context.
A viewer should understand the main point without watching the original livestream.
How to Save Your Facebook Live Recording Before Editing
Start with a complete recording of your own Facebook Live. An original local recording usually provides the most reliable editing source, while a Facebook copy may contain additional compression or different media streams.
Step 1: Find the original recording
- Open the folder where your streaming software saves recordings.
- Look for the correct livestream date.
- Check the video duration.
- Play the beginning, middle, and end.
- Confirm that the audio works.
- Create a backup before editing.
If you streamed through OBS Studio or another recording application, check its recording directory.
Keep the highest-quality original version available.
Step 2: Save an available Facebook copy
If you no longer have the original, check the video management options for your Facebook Page or profile.
When Facebook provides a download option for your recording, use it.
You can also check the Facebook Live and video saving tool for eligible recordings and available formats.
Download options depend on the source and service. Do not assume every livestream has an available MP4.
Step 3: Check the video before editing
- Open the saved MP4.
- Confirm that the picture appears.
- Listen to the audio.
- Check the full duration.
- Test several timestamps.
- Move the file into your project folder.
For desktop workflows, follow this Windows and Mac video management guide.
Keep a separate copy for editing.
Facebook Live recording availability can also change over time, so do not depend on Facebook as your only archive.
How to Find the Best Facebook Livestream Highlights
The best Facebook livestream highlights contain one clear idea, a strong opening, and a useful result. Choose moments that teach, demonstrate, answer, or explain something important to your target audience.
Step 1: Review the livestream with a purpose
- Open the recording in your video editor.
- Watch at a comfortable speed.
- Note timestamps for useful moments.
- Identify the main message of each moment.
- Remove sections that depend on unrelated discussion.
- Create a shortlist of potential clips.
Look for moments where the speaker gives a direct answer.
For example, a business owner might explain why one product costs more than another.
That answer could become a short educational Reel.
Step 2: Score potential clips
Use three simple questions:
- Value: Does the clip help the viewer?
- Clarity: Can someone understand it without the full Live?
- Action: Does it support a useful next step?
Give priority to clips that meet all three conditions.
Do not choose a moment only because it received many live comments.
A popular live discussion may still need editing before it works as a Reel.
Step 3: Choose a suitable clip length
There is no single ideal length for every Facebook Reel.
A focused clip of 15–45 seconds can work well for a quick tip. More detailed explanations may need 45–90 seconds or longer, depending on current platform limits and the content.
| Live Content Type | Suggested Starting Length | Reel Goal |
|---|---|---|
| Quick answer | 15–30 seconds | Explain one point |
| Product feature | 20–45 seconds | Show a benefit |
| Common mistake | 20–40 seconds | Educate viewers |
| Short tutorial | 30–60 seconds | Teach a process |
| Customer question | 30–60 seconds | Build trust |
| Expert explanation | 45–90 seconds | Share useful knowledge |
These are editing recommendations, not Facebook ranking rules.
Keep the clip as short as possible without removing essential information.
How to Edit Facebook Live Clips Into Vertical Reels
To turn Facebook Live into short-form video, trim the selected moment, create a vertical 9:16 project, keep the main subject visible, and add readable captions. Export a compatible MP4 after checking the final result.
Step 1: Create a vertical video project
- Open your video editor.
- Create a new project.
- Select a 9:16 aspect ratio.
- Set a working resolution such as 1080 × 1920 pixels.
- Import your livestream recording.
- Place the selected highlight on the timeline.
A vertical layout fits the main Facebook Reels viewing experience.
However, many livestreams use a horizontal 16:9 layout.
You may need to adjust the framing.
Step 2: Crop without hiding important content
A horizontal livestream may include a speaker, product, presentation, or multiple guests.
Cropping the center can remove useful information.
Consider these options:
- Close crop: Keep the speaker's face or product in focus.
- Split layout: Show two speakers in separate areas.
- Background fill: Place the horizontal video over a blurred background.
- Reframing: Move the crop when the important subject changes.
Check that faces, products, and text remain visible.
Avoid placing essential information near screen edges where interface elements may cover it.
Step 3: Write a strong opening hook
The first seconds should explain why the viewer should continue watching.
Remove long greetings, introductions, and waiting periods.
Instead of:
"Hello everyone, welcome back to our livestream."
Try:
"Three mistakes people make when buying this product."
Other useful hook patterns include:
- "Here is why your video looks blurry."
- "Stop doing this before you buy."
- "Which option saves more money?"
- "Watch how this product works."
- "One simple fix you can try."
Use hooks that accurately represent the content.
Do not promise a result that the clip cannot deliver.
Step 4: Add captions and improve the audio
- Generate captions from the speech or import a transcript.
- Correct names and technical terms.
- Break long sentences into readable lines.
- Check subtitle timing.
- Place captions inside the visible area.
- Reduce unnecessary background noise.
- Listen to the finished clip.
Burned-in captions remain visible because they become part of the video image.
Separate subtitle tracks may not appear in every downloaded MP4.
For your own recordings, keep an SRT or VTT file when available.
Step 5: Add music and export the Reel
Use music only when it supports the message and you have permission for the intended use.
A business Reel may work better with clear speech and no background music.
For a compatible export, consider:
- MP4 container.
- H.264 video.
- AAC audio.
- 1080 × 1920 resolution.
- A frame rate suitable for the source.
- Clear captions and balanced sound.
Play the exported file before publishing.
How to Create Multiple Reels From One Facebook Live
One Facebook Live can become several Reels when you divide the recording into separate topics. Give each clip its own hook, useful message, and call to action rather than publishing nearly identical cuts.
Example: Turn one 45-minute livestream into five Reels
Imagine a business hosts a livestream about choosing the right home appliance.
Its content plan could look like this:
| Reel | Topic | Hook | CTA |
|---|---|---|---|
| 1 | Common buying mistake | "Avoid this expensive mistake" | Save this tip |
| 2 | Product comparison | "Which model is better?" | Compare the options |
| 3 | Maintenance tip | "Make your appliance last longer" | Follow for more tips |
| 4 | Customer question | "Do you really need this feature?" | Ask a question |
| 5 | Product demonstration | "See how this works in 30 seconds" | View product details |
Each Reel has a different purpose.
Together, they cover more questions than one short promotional video.
Build a simple publishing schedule
- Select five useful clips.
- Edit each clip around one topic.
- Write a different caption for each Reel.
- Prepare a clear cover image.
- Choose a publishing schedule.
- Publish through the available Facebook tools.
- Review results before planning the next batch.
You do not need to publish every clip on the same day.
Spread the content across your marketing calendar.
Use your own posting data to decide when your audience responds best.
Reuse your content across platforms
You may also adapt your own livestream highlights for Instagram Reels and other short-video platforms.
Keep a clean export without platform-specific interface elements.
For eligible Instagram media backups, the Instagram Reel and video saving service can support your archive workflow.
Check each platform's current format, music, and publishing requirements.
How to Add CTAs and Measure Facebook Reel Marketing Results
A successful Facebook Reel should support a clear marketing goal, not just collect views. Match the call to action to the video's purpose, then measure whether viewers watch, engage, click, or become customers.
Choose one CTA for each Reel
Use a CTA that fits the content.
For educational clips:
- "Save this tip for later."
- "Follow for more practical guides."
- "Share your question below."
For product content:
- "See the product details."
- "Compare the available models."
- "Contact us for more information."
For service businesses:
- "Book a consultation."
- "Ask for a quote."
- "Visit our website for details."
Avoid adding several competing requests to one short clip.
Track meaningful performance metrics
Check the analytics available for your Facebook Page or professional account.
Useful metrics may include:
- Views or plays.
- Reach.
- Average watch time.
- Audience retention.
- Shares and comments.
- Link clicks.
- Leads or purchases.
Not every metric appears in every account or reporting interface.
Compare Reels with similar goals instead of judging every clip by total views.
For example, a product demonstration with fewer views but more qualified inquiries may be more valuable than a general entertainment clip.
Improve the next batch using results
- Review the first group of published Reels.
- Identify clips with strong watch time.
- Compare their hooks and topics.
- Check which CTAs produced useful actions.
- Note where viewers stopped watching.
- Apply the findings to your next livestream.
Keep the results in a simple spreadsheet.
Over time, you can identify which questions and demonstrations deserve more short-form content.
Legal and safety disclaimer: Repurpose only recordings you own, have permission to use, or have another lawful basis to edit and publish. Confirm rights for guest appearances, customer information, music, images, and other third-party material. A license for music used during a livestream may not cover a separately edited Reel. Respect privacy, copyright, and Meta's terms.
Frequently Asked Questions
Can I turn my own Facebook Live video into a Reel?
Yes. Save an authorized recording, select a useful moment, edit it into a vertical video, and publish it as a Reel through the available Facebook tools. Check that you have rights to all included material.
How many Reels can I make from one Facebook livestream?
There is no fixed number. A 30–60 minute livestream might contain three to ten useful highlights, but the actual number depends on the content. Prioritize quality over quantity.
What is the best length for a Facebook Live highlight Reel?
Start with a length that fits one complete message. Quick tips may need 15–30 seconds, while tutorials may require 45–90 seconds. Test different lengths using your audience data.
Can I convert a horizontal Facebook Live into a vertical Reel?
Yes. Use a 9:16 editing project and crop, reframe, or add a background around the horizontal video. Keep important people, products, and text visible.
Should I add subtitles to Facebook Live highlight Reels?
Yes, captions can help viewers follow spoken content, especially when they watch without sound. Review automatic captions for errors and keep text inside the visible video area.
Can I reuse the music from my Facebook Live in a Reel?
Only when your rights or license cover the new use. Music permissions may differ between livestreams, edited videos, business promotions, and platforms. Use properly licensed audio.
Conclusion: Turn One Facebook Live Into a Content Series
Repurposing Facebook Live videos into Reels helps creators and businesses get more value from recordings they already own. Start by saving the original livestream, choosing useful highlights, and editing each clip around one clear message.
Use strong hooks, vertical framing, accurate captions, and a relevant CTA. Then publish the Reels over time and measure results that match your business goals.
Keep the original files and editing projects so you can improve future clips without starting again.
Use VidQuickly to save eligible Facebook recordings when supported, and build a repeatable workflow that turns each livestream into useful short-form marketing content.